First, let’s see the steps required when using Google Tag Manager
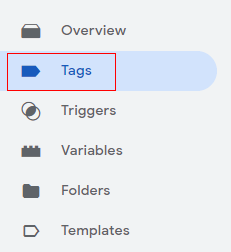
Step-1: Log in to your Google Tag Manager console and click on ‘Tags’ in the left-hand side menu.
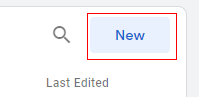
Step-2: Click on the ‘New’ button.
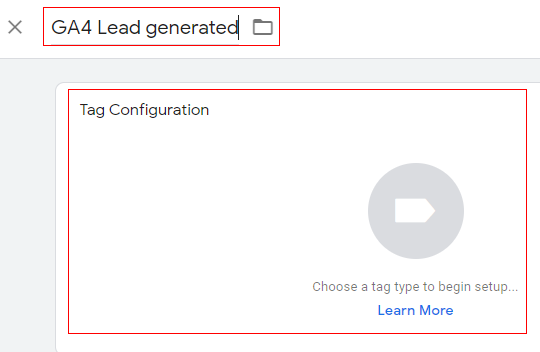
Step-3: Give a proper name to your tag and click on ‘Tag Configuration’.
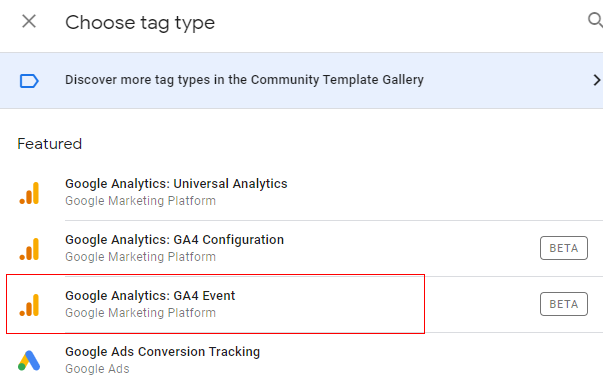
Step-4: An overlay will appear on the right-hand side with a list of tag templates. Select ‘Google Analytics: GA4 Event’.
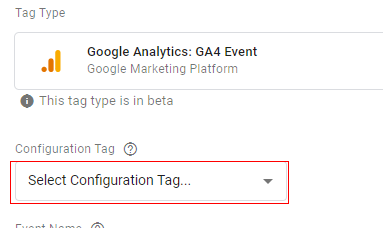
Step-5: The ‘Tag Configuration’ window will open like below. Click on the ‘Select Configuration Tag’.
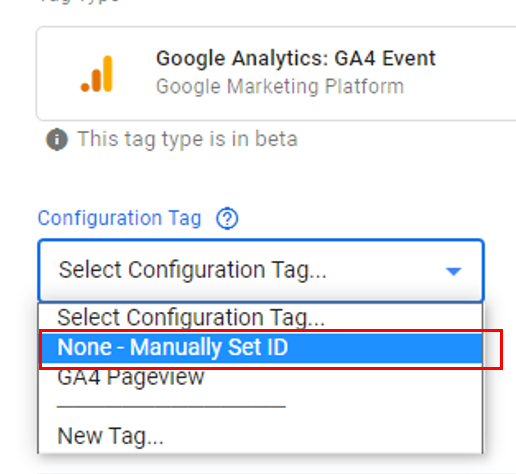
Step-6: A drop-down menu will appear. Select ‘None- Manually Set ID’ from the drop-down.
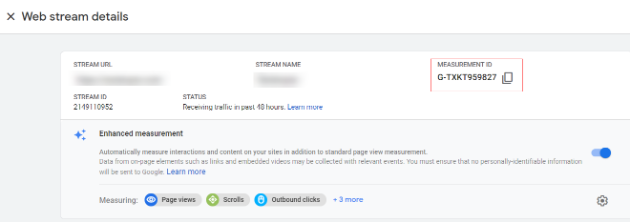
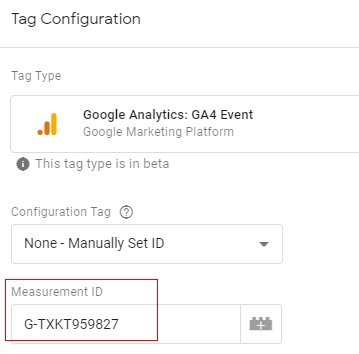
Step-7: The next step is to enter the GA measurement ID in the input box.
You can find your measurement ID in the ‘Admin’ section under ‘Data Streams’.
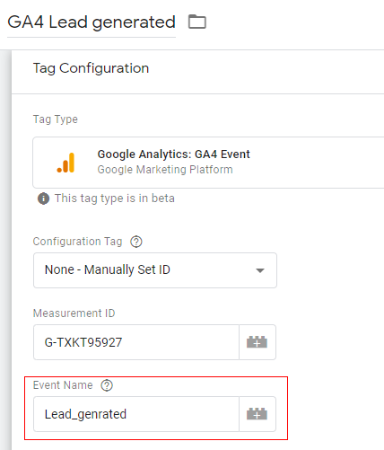
Step-8: Specify the name of the event. The event name you provide here will appear in your GA4 analytics reporting. In our case, I am giving the name as ‘Lead_genrated’.
Note: This is the same event name that we created in the ‘Conversions’ tab.
Step-9: Now let’s create a trigger condition that causes this event to fire with the following conditions
- Trigger type: Page View
- This trigger fires on: Some Page Views
- Condition: Page URL contains ‘thank-you’
Then click on ‘Save’.

Step-10: Now You can do a quick preview and check if the tag is firing correctly.
I am skipping the further steps in GTM since we do not want to divert our focus from the conversion set up in GA4 property.
Let’s navigate to our GA4 property and click on ‘Realtime’. When you visit the thank-you page you should see your conversion happening in real-time, as below.

Once the debugging process is completed you can publish the GTM container.
Now if you go to your ‘Conversions’ tab in the GA4 reporting menu, you will see the ‘Lead_genrated’ conversion is getting tracked.
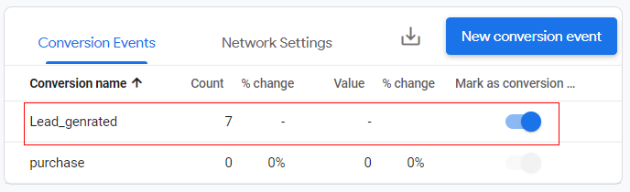
Congratulations!! You have successfully set up conversion tracking by creating a new conversion event, using Google Tag Manager.