What is Internal Traffic in GA4?
The traffic generated by you or your employees, suppliers and other service providers to your website is called the ‘Internal Traffic‘. These people are not your target audience and therefore we don’t need to track them.
Internal traffic can easily skew your website usage metrics and therefore must be filtered out from your GA4 reports.
Follow the steps below to exclude internal traffic from your reporting in GA4 property:
Step-1: Navigate to your GA4 property.
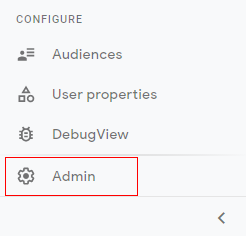
Step-2: Click on the ‘Admin’ link at the bottom left-hand side:

Step-3: Click on ‘Data Streams’ under the ‘Property’ column:
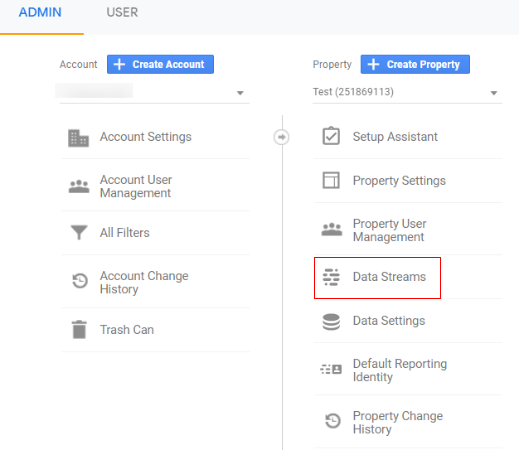
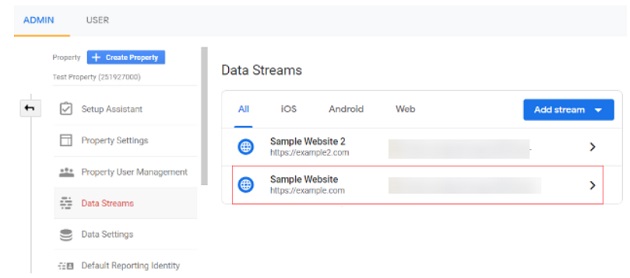
Step-4: Click on the name of the data stream for which you want to exclude internal traffic.
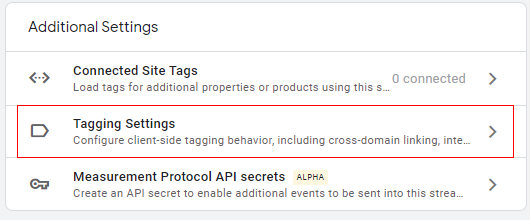
Step-5: Scroll down your screen and then click on ‘Tagging Settings’ under the ‘Additional Settings’ section:
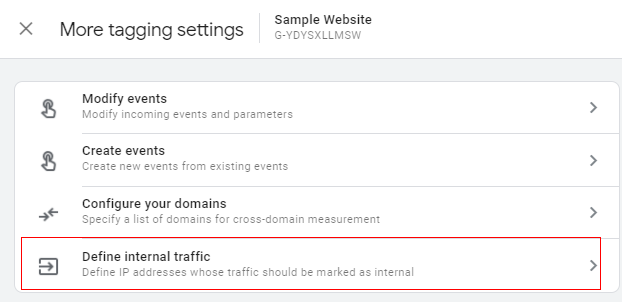
Step-6: Click on ‘Define internal traffic’:
Step-7: Click on the ‘Create’ button:
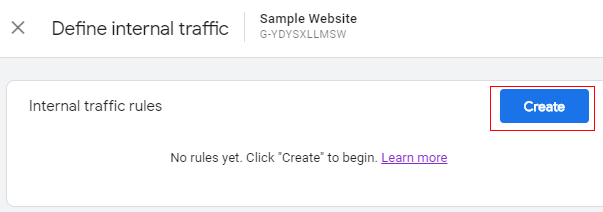
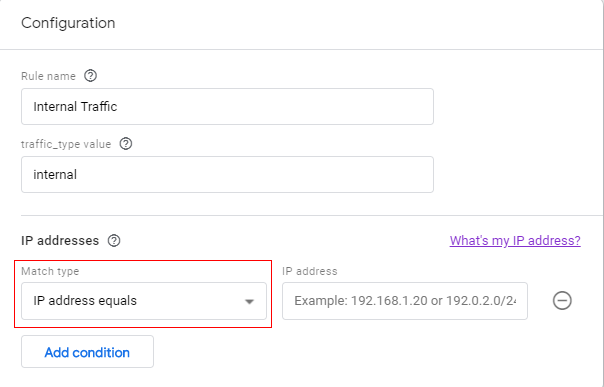
You should now see a screen like the one below:
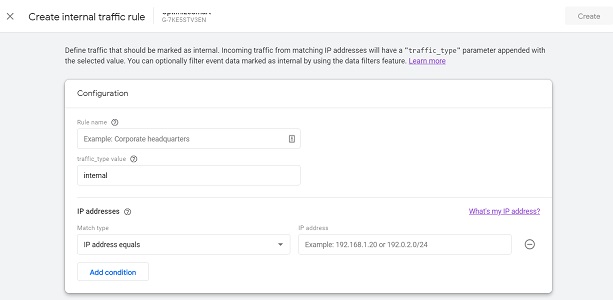
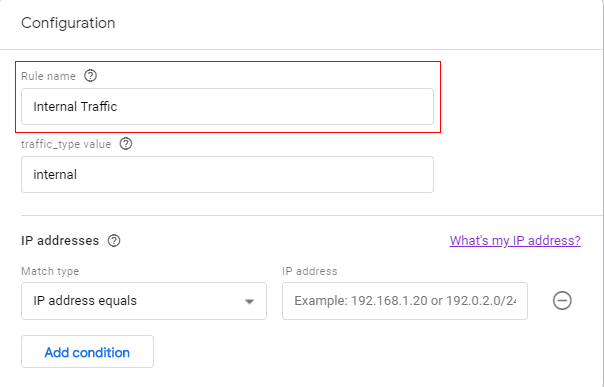
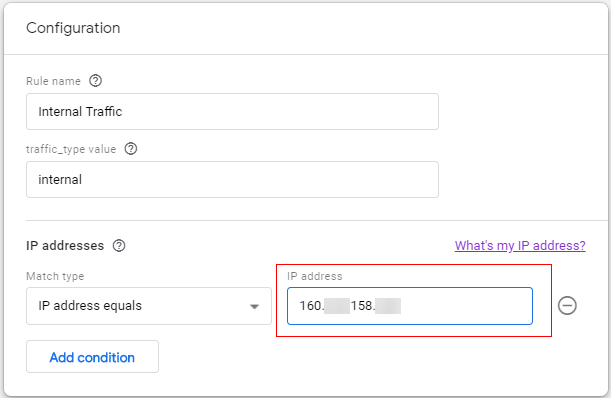
Step-8: Give your filter a name by typing in the input box under ‘Rule Name’. Let’s name our filter ‘Internal Traffic’:
Step-9: Leave the ‘traffic_type value’ as ‘internal’ since we are creating a filter to exclude internal traffic to the website:
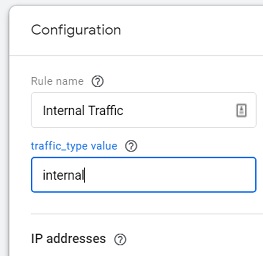
You can, however, change this value if you are passing some other parameter as internal traffic identifier.
Note: Whatever value you pass here for the ‘traffic_type value’ will be used in the data filters settings in the next step.
Step-10: Click on the drop-down menu under ‘Match Type’.
You should now see a drop-down list like the one below:
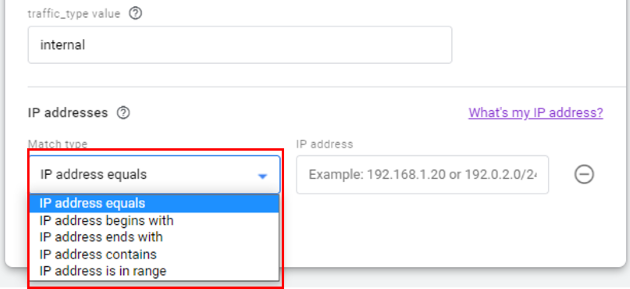
IP address equals: This option will match only one IP address. For example, ‘165.204.156.26’.
IP address begins with: This option will match all the IP addresses that begin with the provided input. For example, if you provide input as ‘165’, it will match ‘ 165.204.156.26’, ‘165.203.156.28’ but not ‘167.204.156.26’.
IP address ends with: This option will match all the IP addresses that end with the provided input. For example, if you provide input as ‘26’, it will match ‘ 165.204.156.26’, ‘167.203.155.26’ but not ‘165.204.156.28’.
IP address contains: This option will match all the IP addresses that contain the provided input. For example, if you provide input as ‘165’, it will match ‘ 165.204.156.26’, ‘190.165.156.28’ but not ‘167.204.156.26’.
IP address range: This option will match a range of IP addresses. For example from ‘165.204.156.26 to 168.208.156.28’.
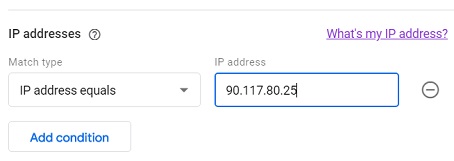
Step-11: Enter the IP address from which you want to exclude your internal traffic:
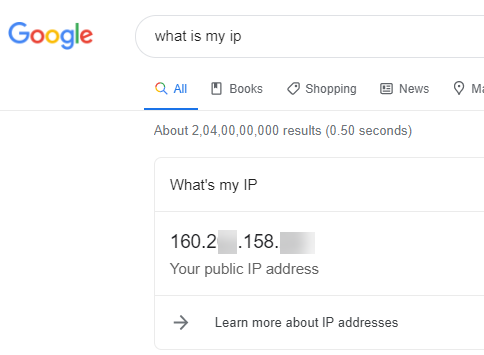
If you want to exclude all the traffic originating from your device but you don’t know your IP address, you can then click on the link ‘What’s my IP address’:
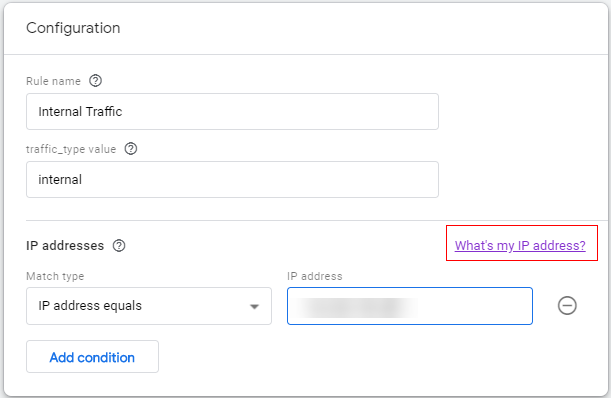
You will automatically be redirected to a new tab in your browser window from where you can see your IP address:
Step-12: Copy your IP address and then paste it into the input box under ‘IP address’:
Note: You can also use an IPv6 address in the ‘IP address’ text field.
Step-13: Click on the ‘Create’ button:

Your new internal traffic rule will appear like the one below.

Step-14: Click on the cross button (at the top left of your screen) three times to navigate back to the admin section of your GA4 property.
Step-15: If you are excluding traffic from your own device then navigate to your website via your device. If you are excluding traffic from an IP address that doesn’t belong to your device then ask the person whose IP address you added (while creating the exclude internal filter) to visit your website.
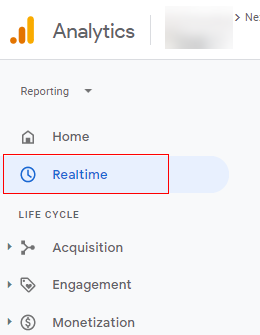
Step-16: Navigate to your ‘Realtime’ report:
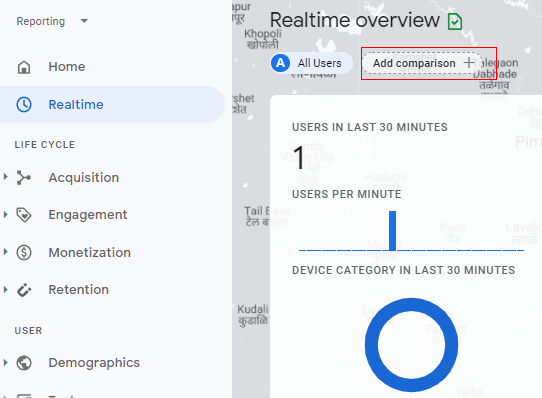
Step-17: Click on ‘Add Comparison’ button:
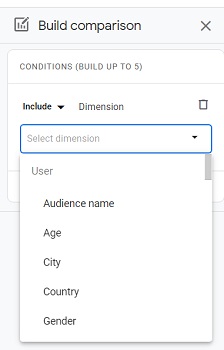
Step-18: A small overlay will appear on the right-hand side called ‘Build Comparison’. Click on the drop-down menu under ‘Dimension’:
Step-19: Type ‘Test’ and you will see the dimension ‘Test data filter name’ available below:
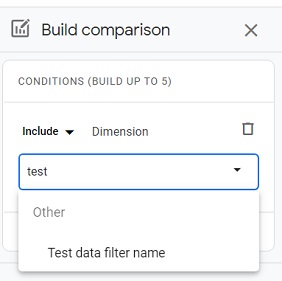
Note: If this dimension appears disabled then it is not available to you because you did not navigate to your website as mentioned in one of the previous steps.
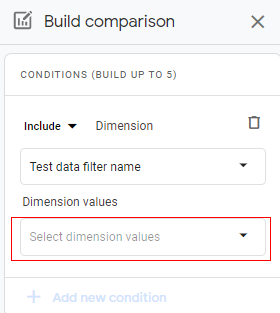
Step-20: Click on the dimension name (‘Test data filter name’) in order to select it.
Step-21: Click on the drop-down under ‘Dimension Values’:
Step-22: Click on the checkbox next to ‘Internal Traffic’:
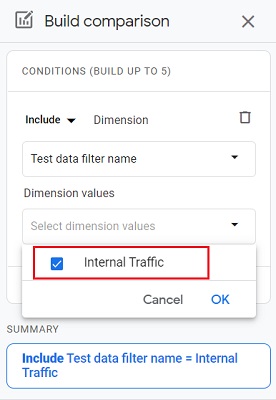
Step-23: Click on the ‘OK’ button.
Step-24: Click on the ‘Apply’ button:

You should now see the new comparison applied to your report:
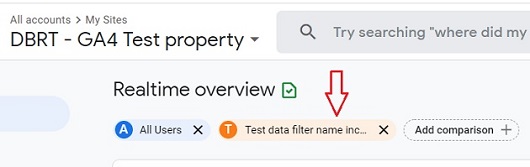
Step-25: Refresh your browser window.
You should now also be able to see the filtered data under ‘Test data filter name..”:
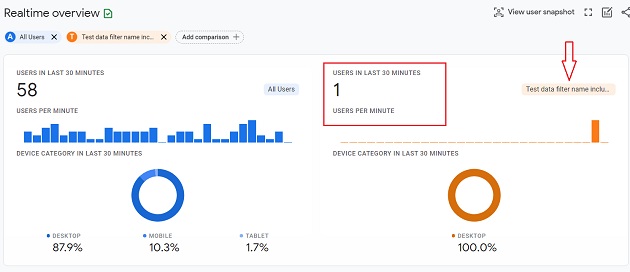
The real-time view in the orange column is showing us the traffic coming from the internal IP address that we defined earlier.
This is proof that our filter is working perfectly fine and we can now make it live.
Step-26: Click on the ‘Admin’ link in your reporting interface:
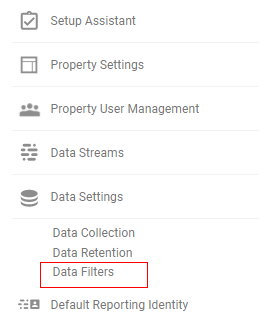
Step-27: Click on ‘Data Settings’ drop-down menu:
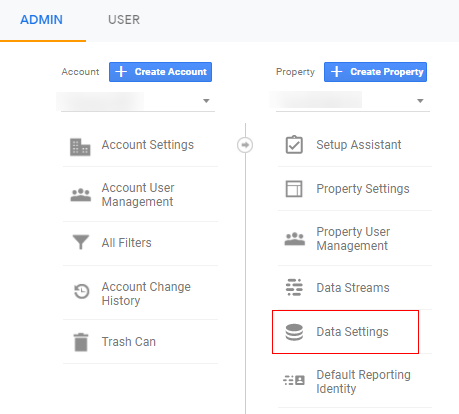
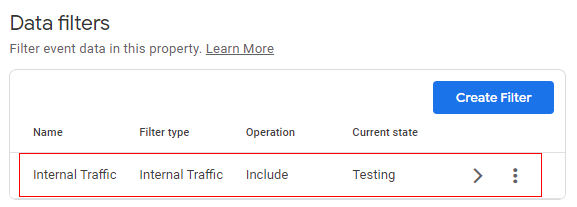
Step-28: Click on ‘Data Filters’.
Step-29: Click on the ‘Internal Traffic’ filter:
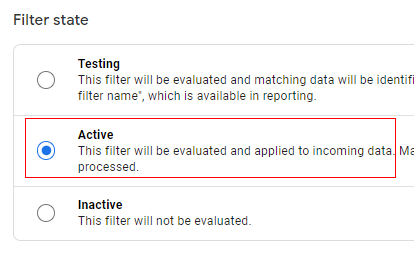
Step-30: Click on ‘Active’ under ‘Filter State’.
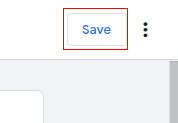
Step-31: Click on the ‘Save’ button in the top right-hand corner.
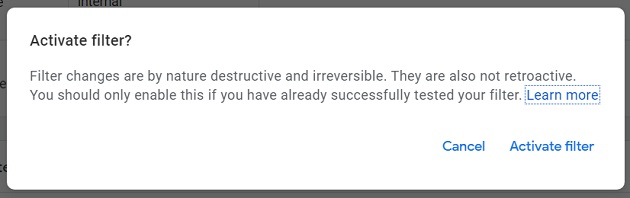
Step-32: Click on the ‘Activate Filter’ button:
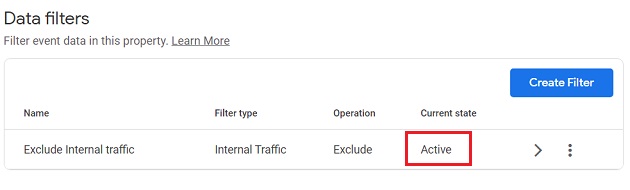
You should now see your exclude internal traffic filter listed as ‘Active’:
That’s it. Congratulations!
You have successfully set up your filter in GA4 to exclude internal traffic.